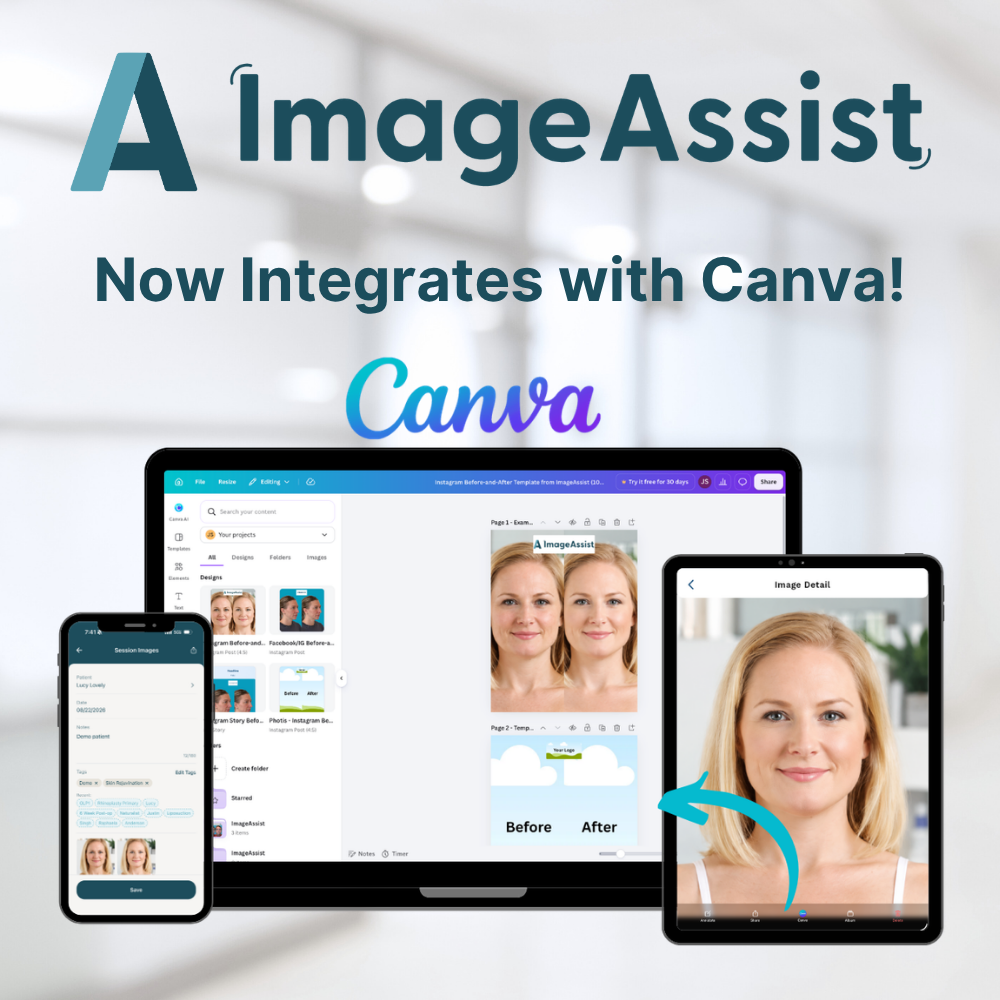
How to Send Photos from ImageAssist to Canva
Mon Oct 05 2026
Connect Canva once, then send photos from iOS or the web app straight into an ImageAssist folder in your Canva account. No downloads.
Photo to finished graphic, without the camera roll.
ImageAssist now connects directly to Canva. Send a photo, and it's waiting in your Canva account, ready to drop into a before-and-after template, a social post, or a patient education handout.
No downloading. No saving to a personal phone. No hunting through files.
Here's how it works.
Step 1: Connect Canva (one time)
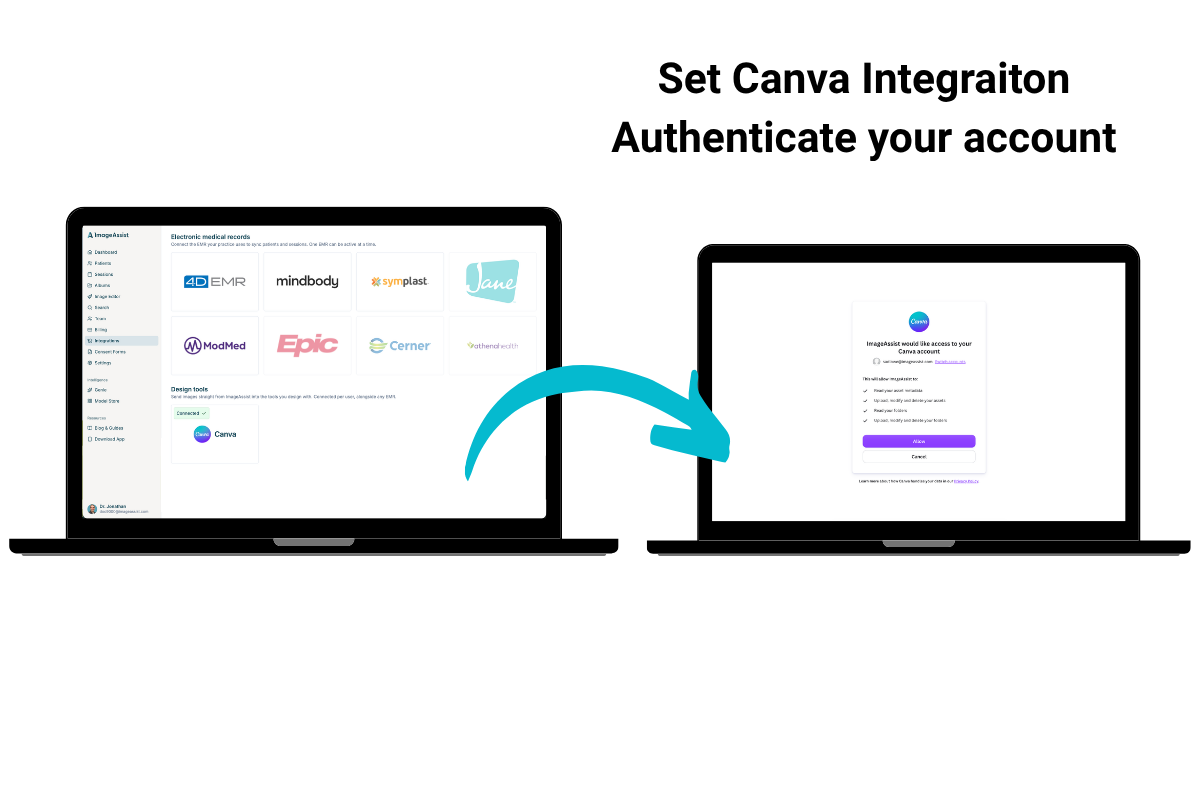
Log into the ImageAssist web app and select Integrations. You'll see Canva listed as an option. Click it and sign in with your Canva account.
When the connection works, you'll see "Connected." That's the only setup there is.
If the Canva sign-in window doesn't appear, check your browser's popup blocker.
Step 2: Send photos from iOS
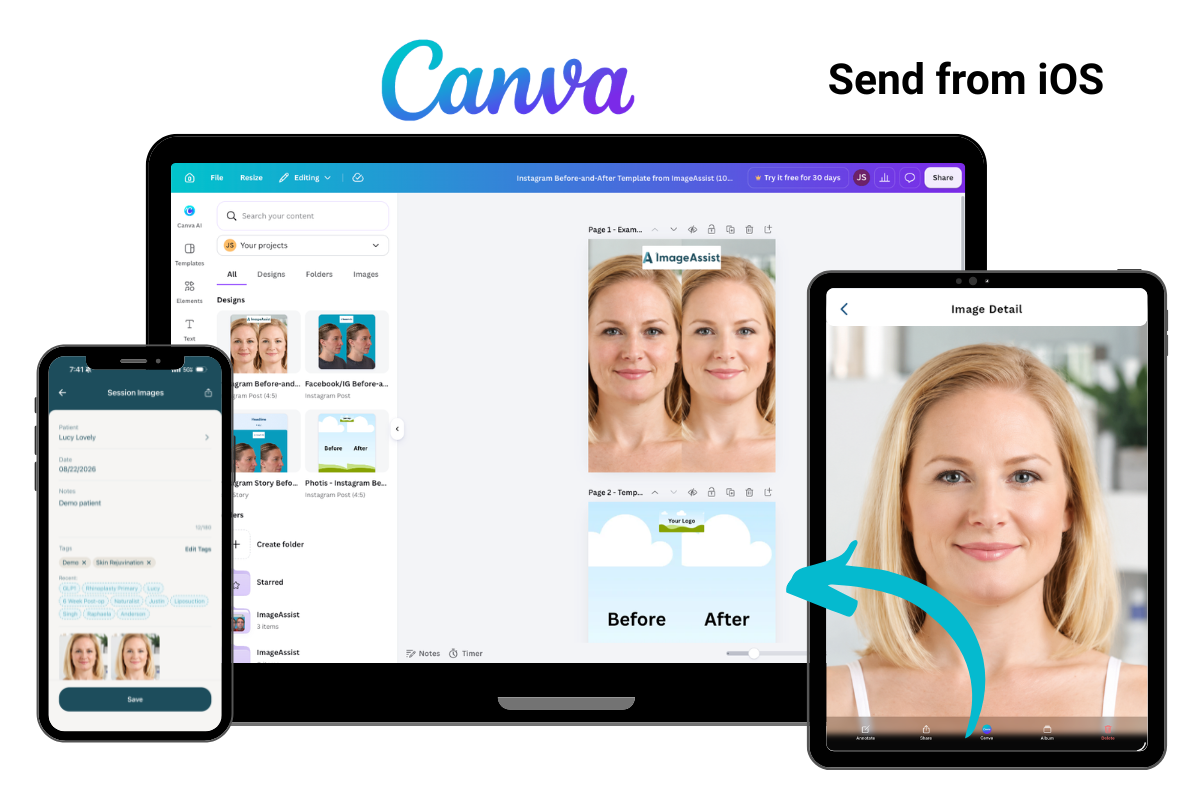
Open any photo in the ImageAssist app and tap the Canva icon. The photo goes straight to your Canva account.
Step 3: Send photos from the web app
Open a patient profile or a session and click Select. Choose the photos you want, then click Send to Canva. They arrive instantly.
You can send one photo or a whole set at once.
Step 4: Find them in Canva
Every photo you send lands in a folder called ImageAssist. Open Canva, find the folder, and your photos are there.
From there, drag them into a template and build whatever you need: before-and-afters, Instagram posts, Stories, website images, or patient education materials.
One thing to check before you post
Look for the green check next to the patient's name in ImageAssist. It means they've given media consent. Only send photos to Canva for patients who have.
Photos in Canva live in your Canva account, outside ImageAssist. If you want to edit a before-and-after without ever leaving a HIPAA-compliant environment, use the
ImageAssist Image Editor in the web app. Canva is there when you want its templates and design tools.
Questions?
.png?alt=media&token=757f5269-8a4d-4495-a9c1-bac00c296cdc)