How to Use the New Canva Integration in ImageAssist (Step-by-Step Guide)
Wed Dec 17 2025
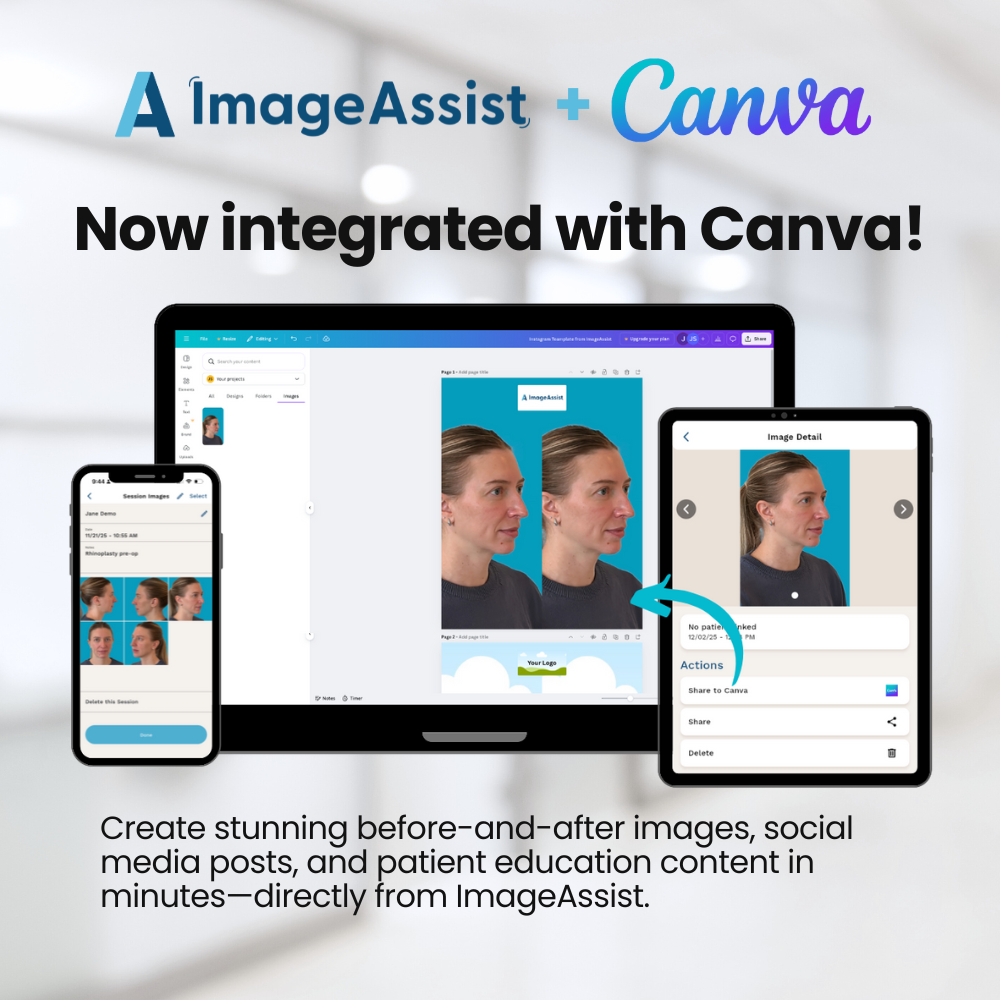
ImageAssist now integrates with Canva, allowing you to send photos directly into Canva for before-and-after graphics, social posts, and marketing materials—no downloads needed. Here’s a simple guide to get started.
📣 New Feature: Send Photos Directly From ImageAssist to Canva
No downloads. No camera roll. A faster, safer marketing workflow.
We’re excited to introduce a feature many of you have been asking for:
ImageAssist now integrates directly with Canva, making it easier than ever for your marketing team to turn clinical photos into polished before-and-after images, social media posts, website content, and patient education materials.
This guide will walk you through exactly how it works.
✨ Why This Matters
With this integration, you can:
- Send any clinical photo straight to Canva
- Avoid downloading images or storing them on personal devices
- Maintain full HIPAA compliance
- Speed up collaboration between clinical + marketing teams
- Build beautiful before-and-after graphics in minutes
Now let’s walk through how to use it.
📸 How to Send Photos From ImageAssist to Canva (Step by Step)
Step 1 — Open a Patient Photo in ImageAssist
From your ImageAssist app (iPhone, iPad, or Web):
- Navigate to the patient profile
- Tap or click on the specific photo you want to use
- The full photo view will open
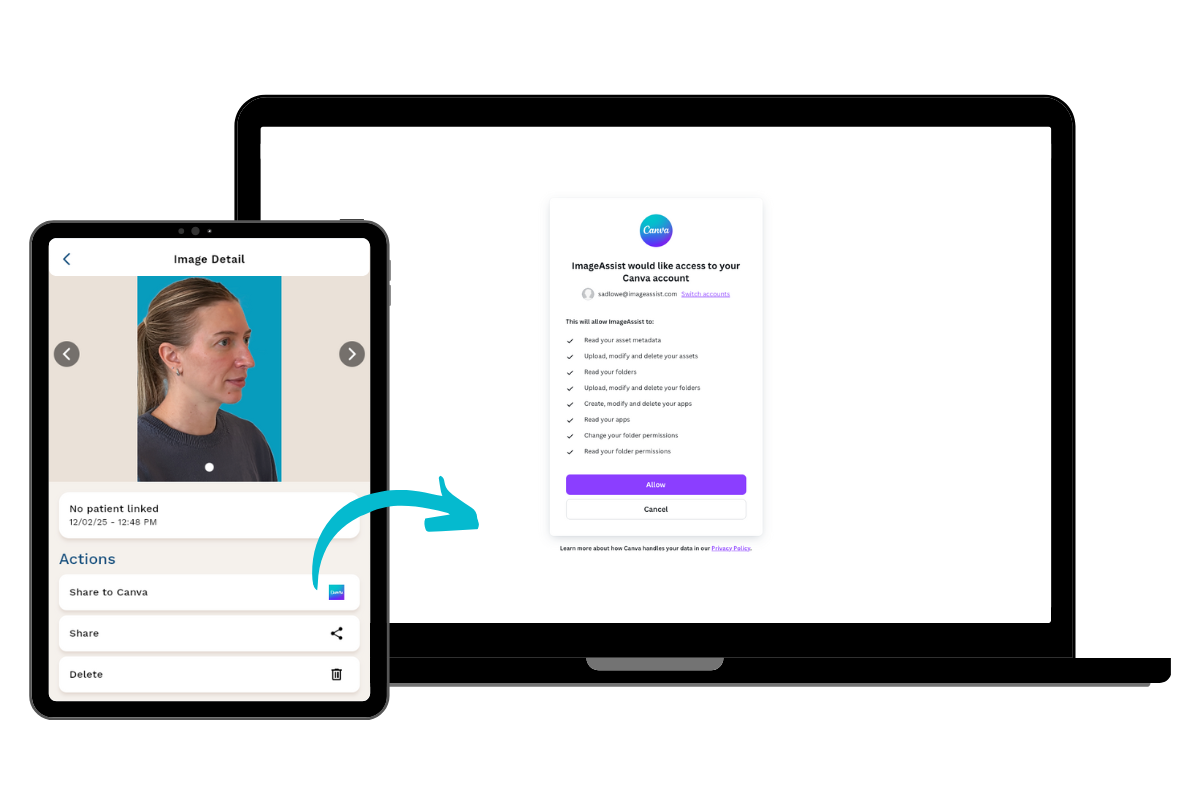
Step 2 — Tap the “Send to Canva” Button
Under the photo, you’ll see a new option:
👉 Send to Canva
Tap this button to begin sending your photo.
Step 3 — Log In to Your Canva Account
A Canva authentication window will appear.
- Enter your Canva login email and password
- Approve the connection between ImageAssist and Canva
This step only needs to be completed once per user.
* Tip: if you're having trouble authenticating to Canva, check your popup blocker, which can hide this page.
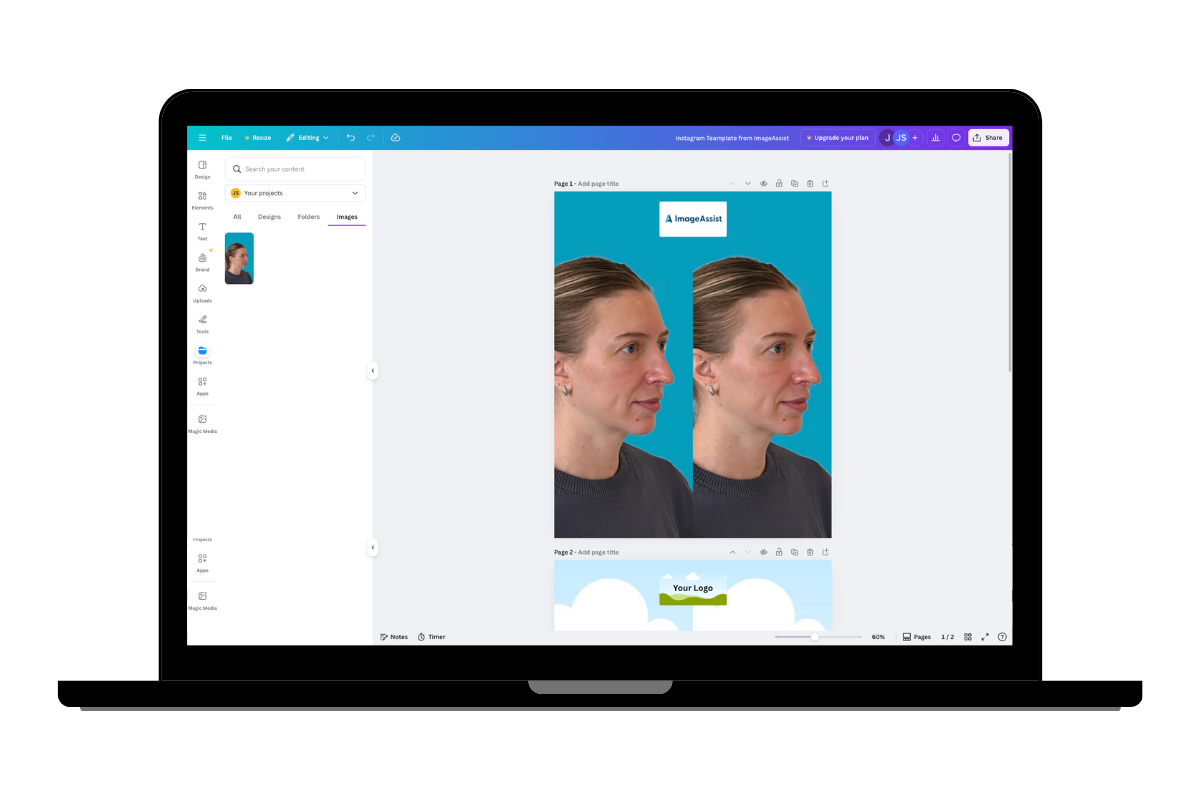
Step 4 — Open Canva
Now open Canva in your browser or app.
Go to:
Projects → Uploads → Images
You’ll see a new folder appear with your ImageAssist photos.
Your recently shared image will be waiting for you.
* Tip: if you don't see the photo you sent to Canva, go back to ImageAssist and send it again, as the authentication step can sometimes leave the image behind.
Step 5 — Bring the Photo Into Your Templates
From here, you can:
- Drag the photo into your before-and-after Canva templates
- Create social media graphics (Instagram, TikTok, Reels, Stories)
- Build website assets or patient education materials
- Share designs directly with your marketing team
🎉 That’s It — Your Workflow Just Got Faster
With ImageAssist + Canva, your team can now go from:
Photo → Canva → Published Content
in minutes, without ever downloading an image.
This integration keeps your workflow fast, compliant, and consistent — just the way it should be.
If you have questions or want help getting set up, our team is always here to support you.