Best Practices for Patient Photography with iPhone and iPad | Clinical Photography Guide
Mon Mar 16 2026
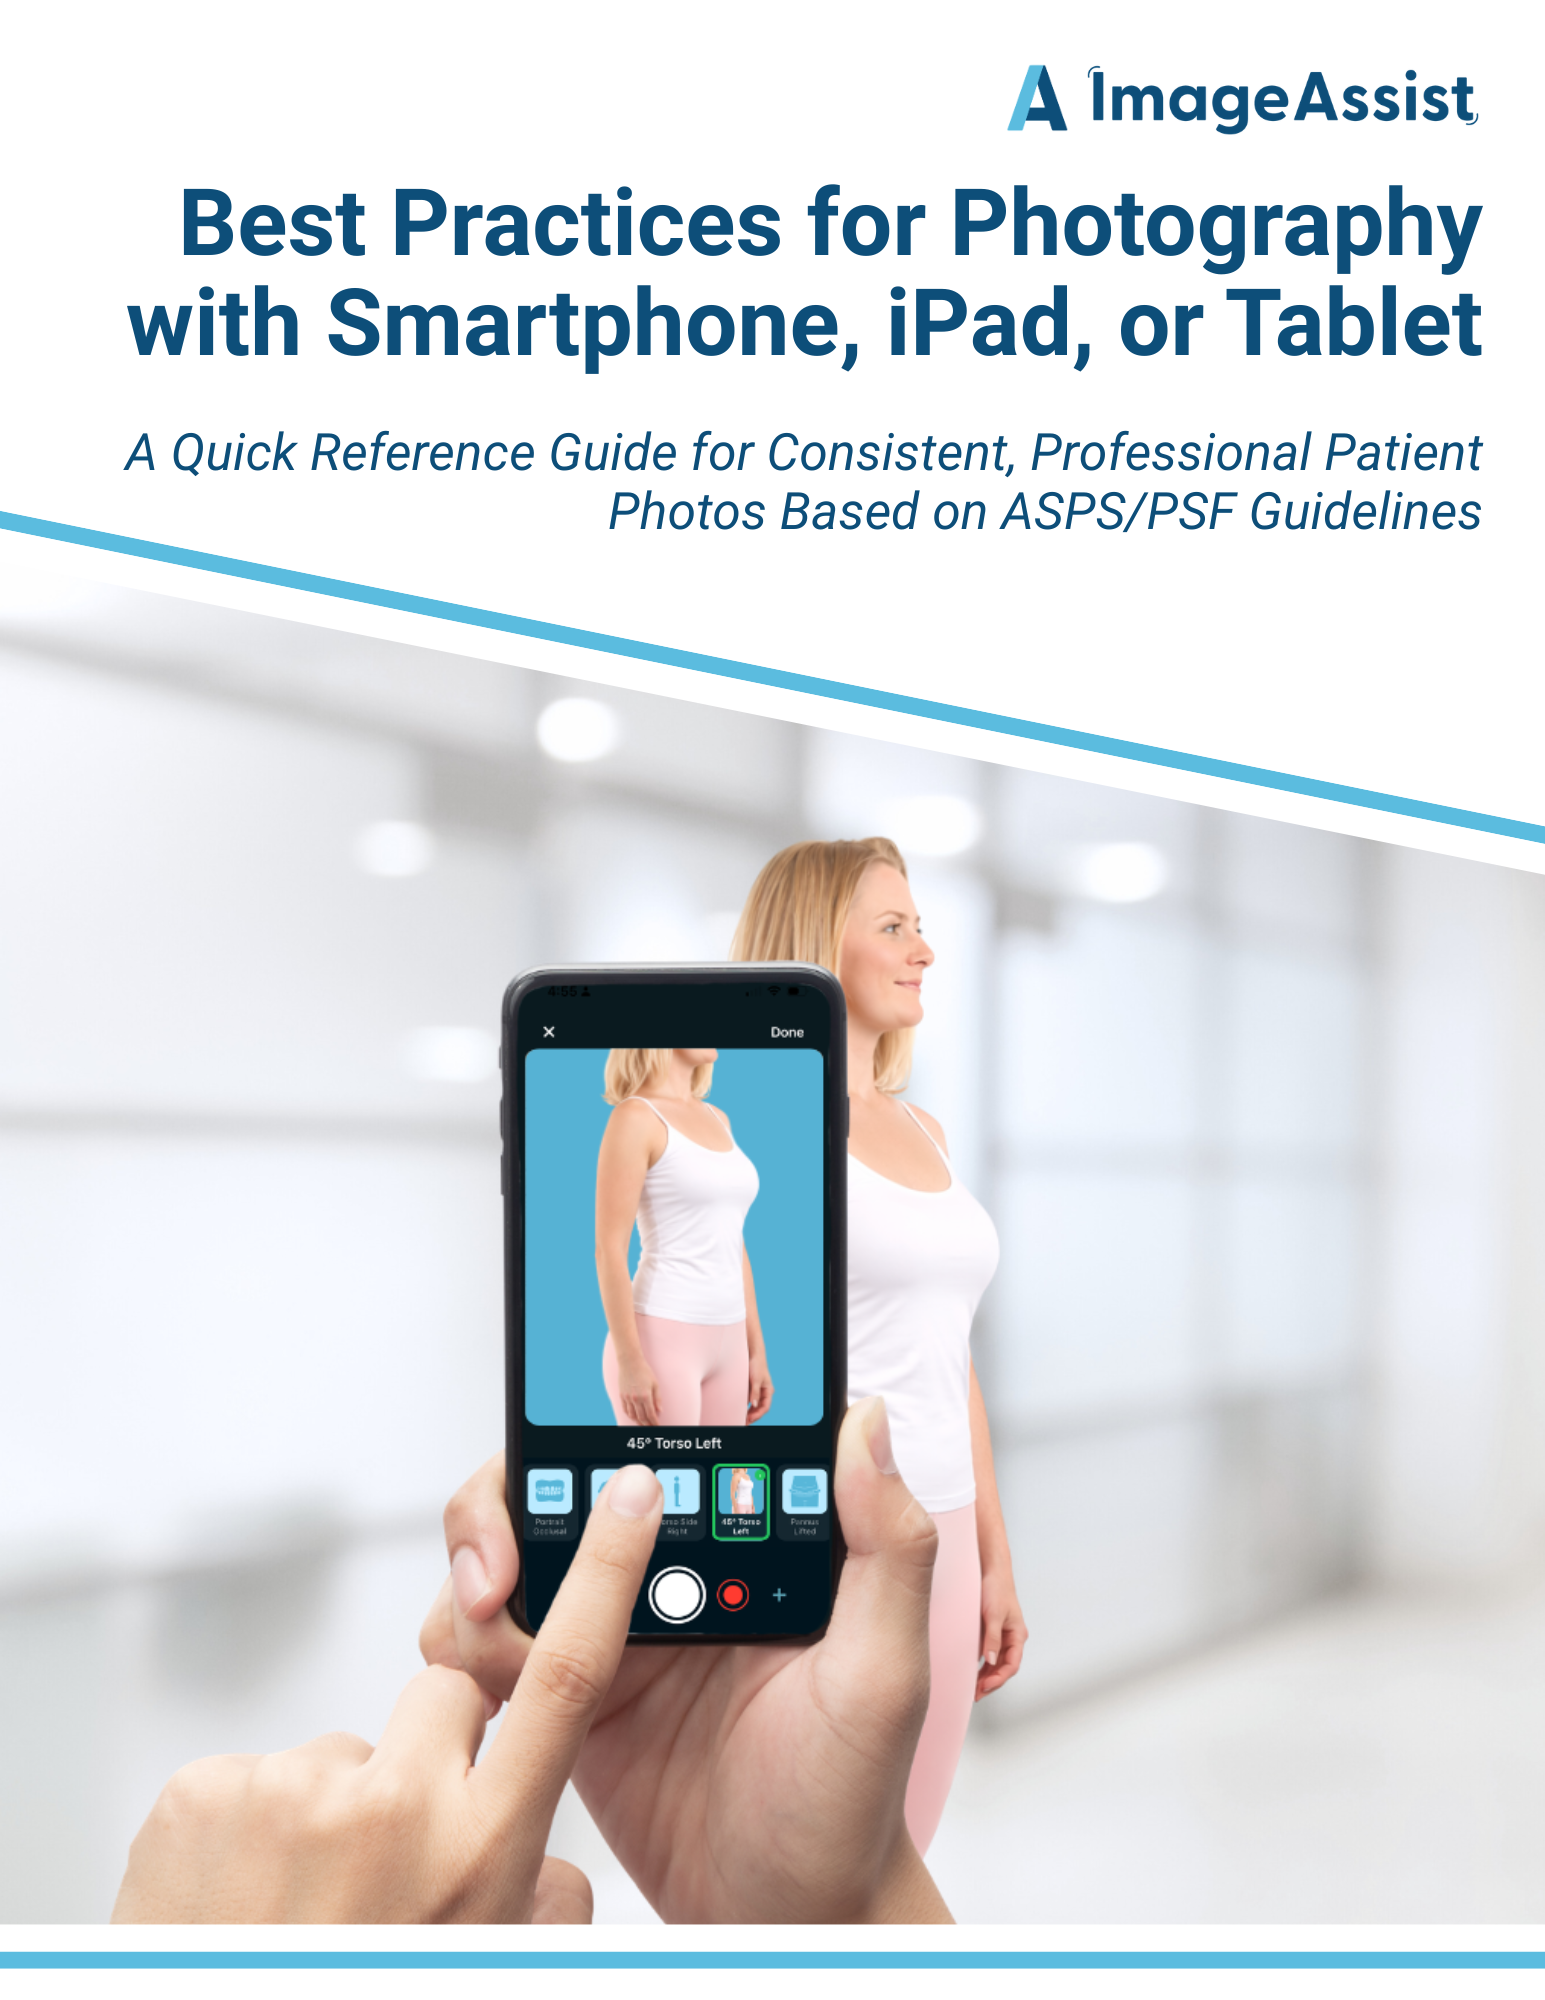
Consistent patient photography is essential for documenting outcomes, improving consultations, and showcasing before-and-after results. This guide outlines best practices for capturing professional clinical photos using an iPhone or iPad.
Why Consistent Clinical Photography Is Hard — and How to Fix It
Before-and-after photos are one of the most important tools in specialties like plastic surgery, dermatology, aesthetics, weight loss, and wellness.
They help clinicians document outcomes, educate patients during consultations, and showcase results for marketing and patient engagement.
But capturing consistent, professional patient photos is harder than it seems.
Even small differences in camera angle, distance, lighting, or patient positioning can make before-and-after photos difficult to compare. A patient standing slightly differently, the camera being held a few inches higher, or inconsistent lighting can dramatically change how results appear.
Many practices rely on smartphones or DSLR cameras to capture these photos, but without clear standards, results can vary significantly between sessions and staff members.
Over time this leads to common problems:
• Before-and-after photos that don’t align properly
• Inconsistent lighting and camera positioning
• Difficulty comparing results between visits
• Time spent managing and organizing photos across devices
For specialties that rely heavily on visual results, this inconsistency can make it harder to clearly demonstrate treatment outcomes.
Best Practices for Smartphone Clinical Photography
To help address this challenge, we created a quick reference guide for capturing consistent clinical photos using smartphones, tablets, or iPads.
The guide is based on established clinical photography standards and outlines simple techniques clinicians and staff can follow to improve photo consistency.
Inside the guide you'll find recommendations for:
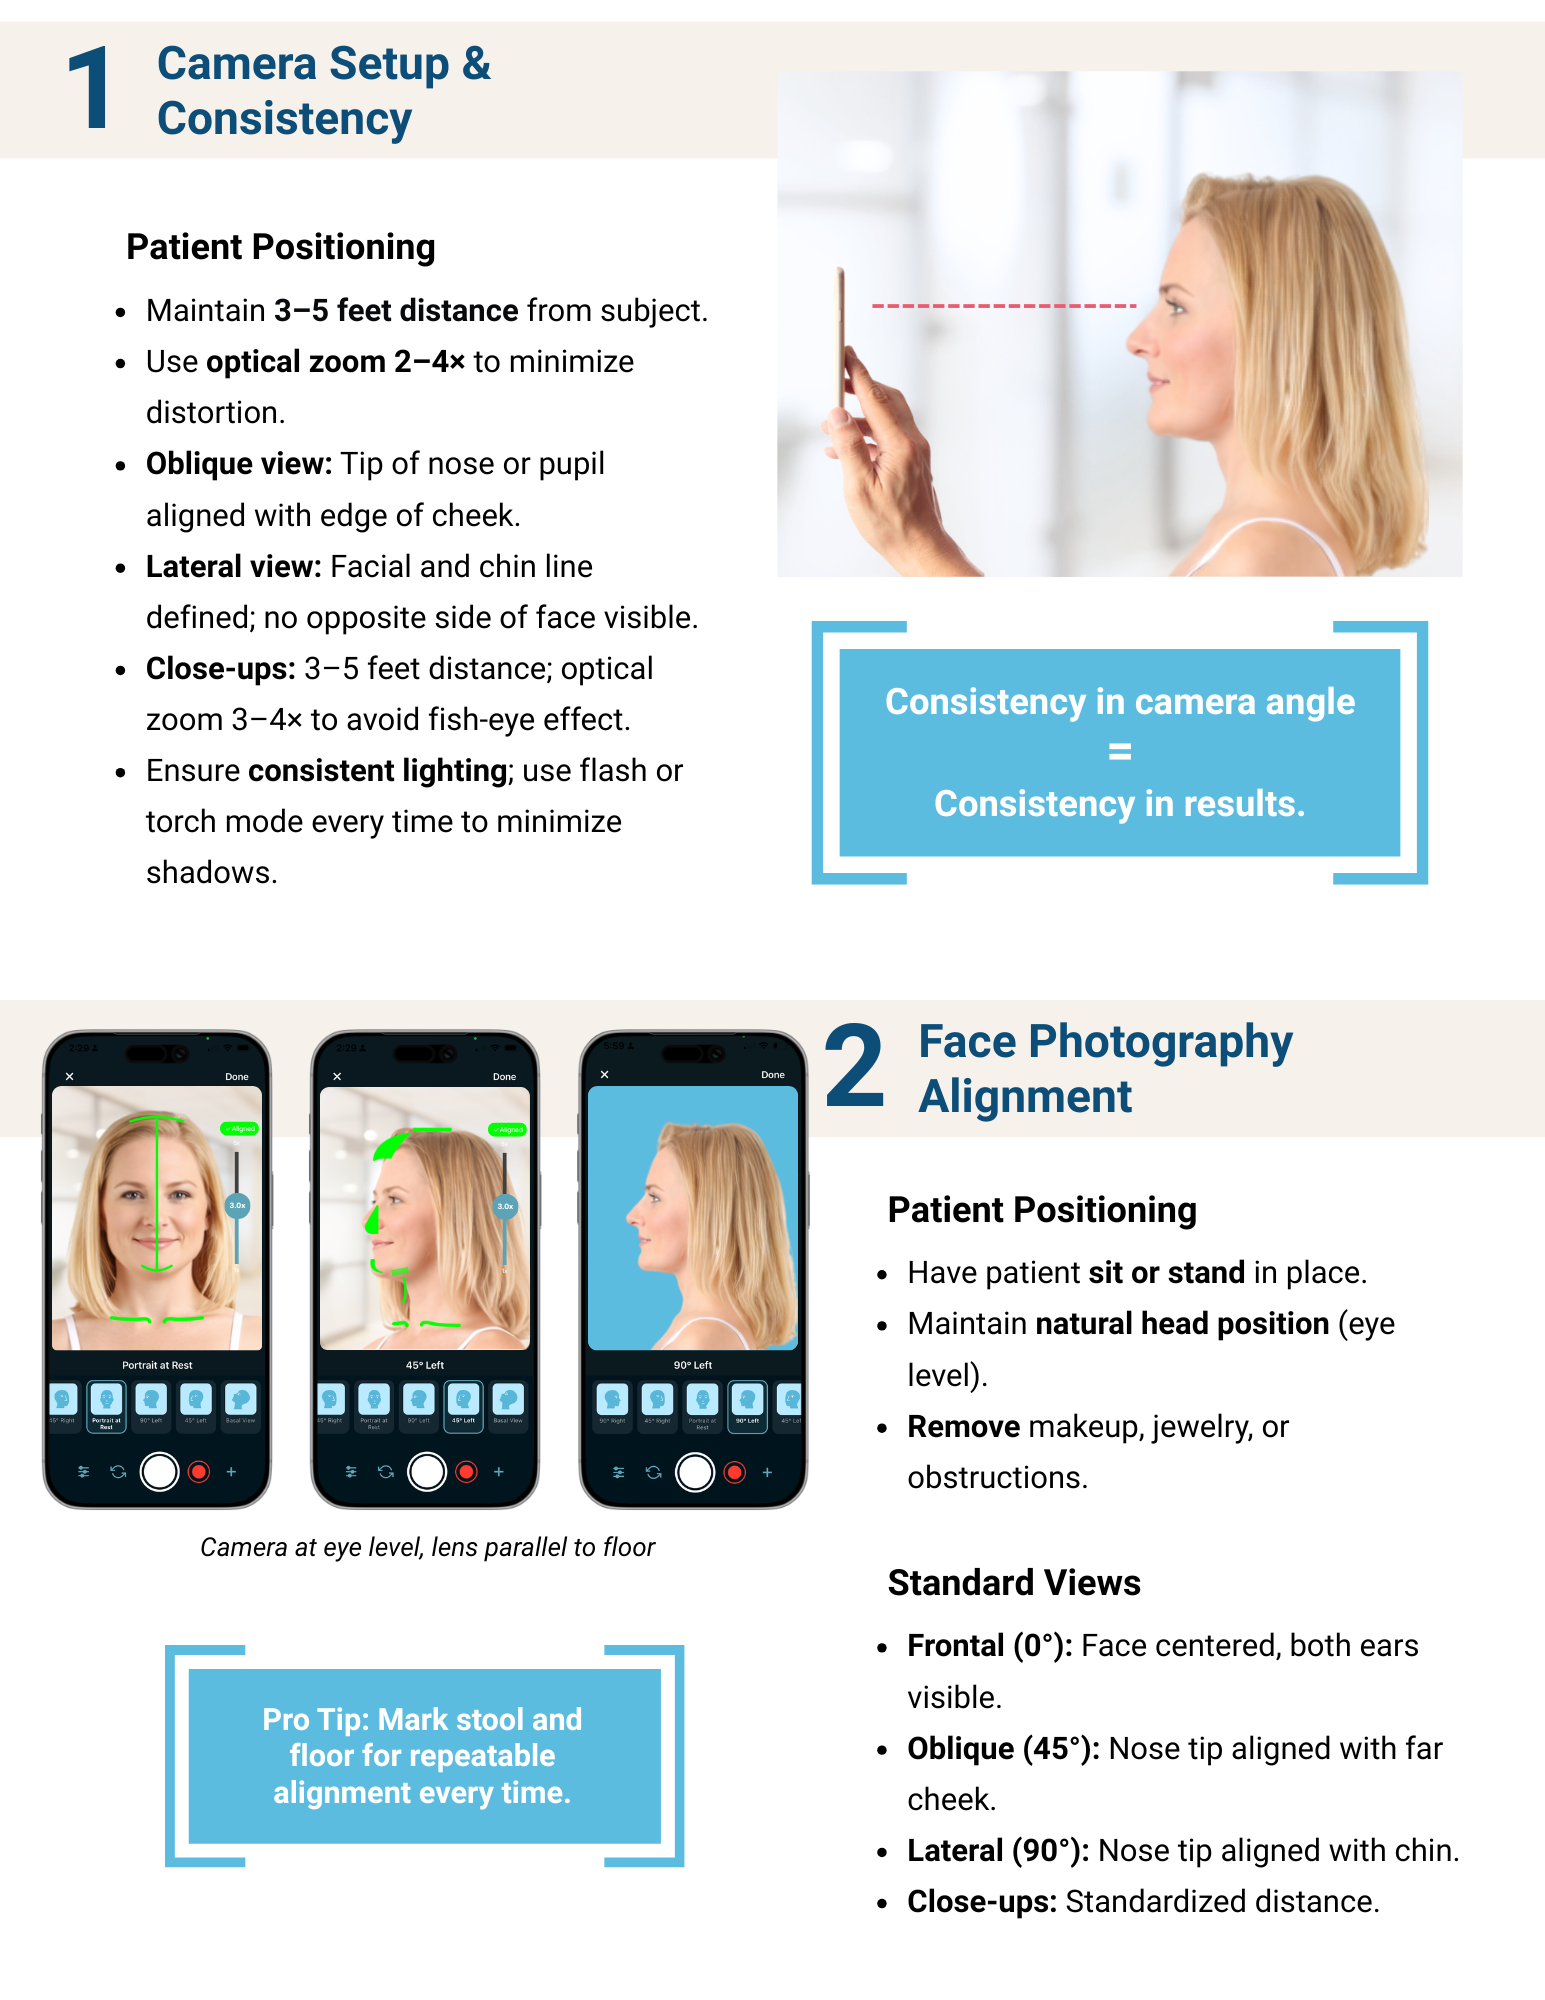
• Camera distance and zoom to avoid distortion
• Standard facial photography views (frontal, oblique, lateral)
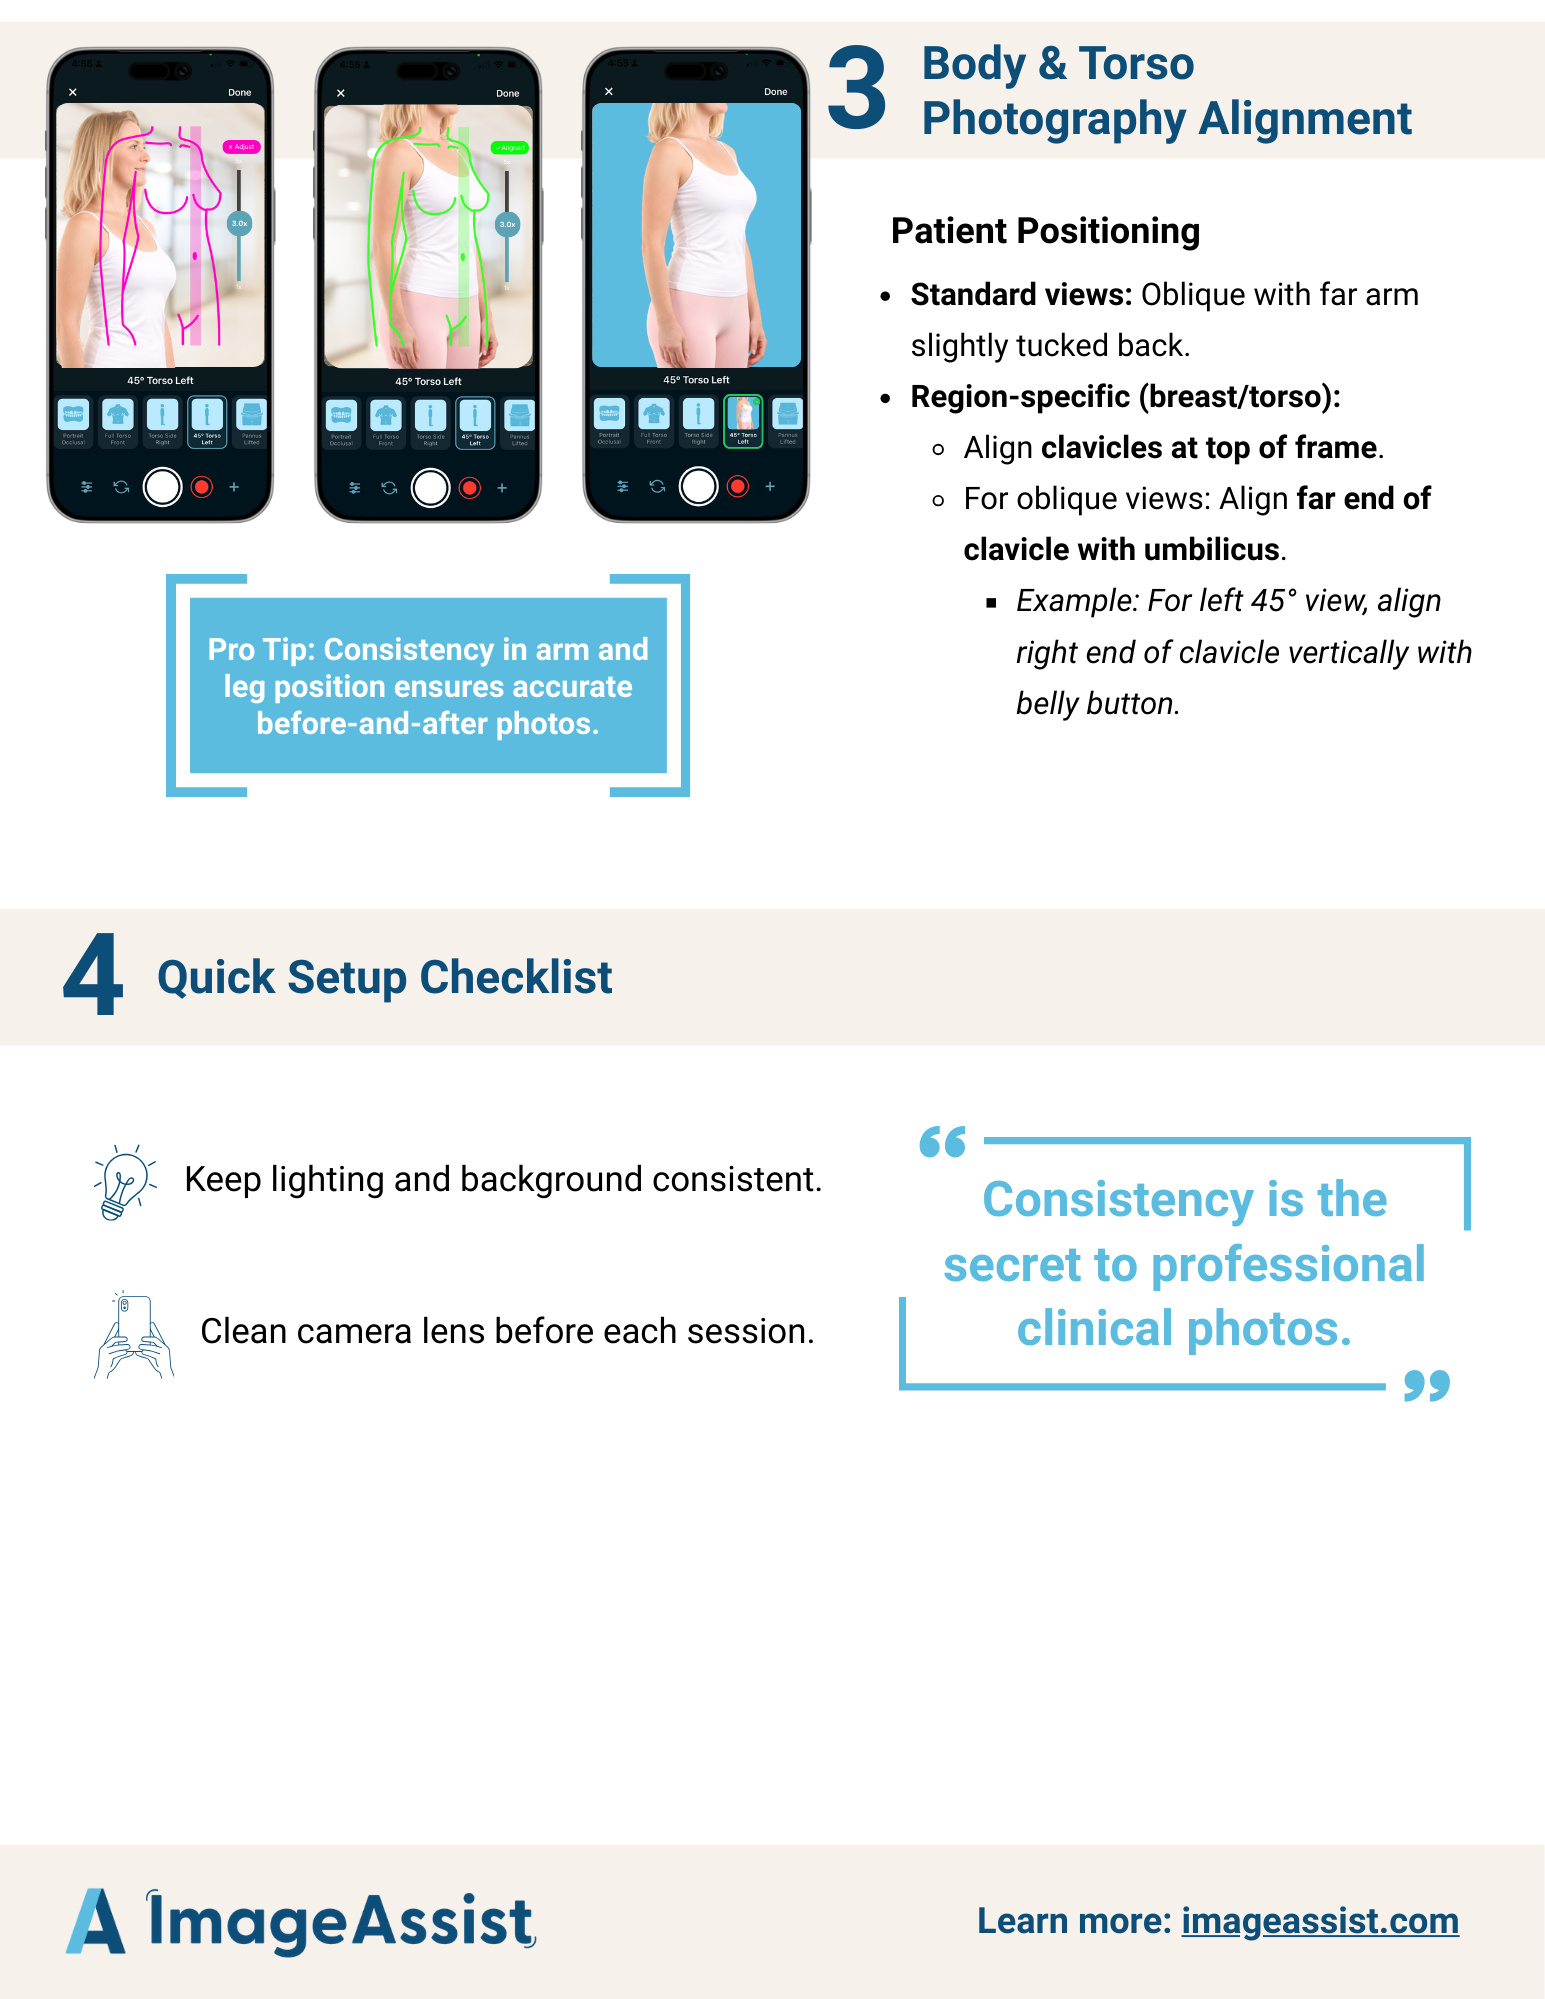
• Patient positioning for repeatable before-and-after images
• Lighting tips to eliminate shadows and improve image clarity
• A quick setup checklist for clinical teams
These small adjustments can make a dramatic difference in the quality and consistency of patient photos.
The Challenge: Consistency in Busy Clinics
While these guidelines are helpful, maintaining perfect consistency in a busy clinic environment can still be difficult.
Different staff members may capture photos differently, patients may not stand in the exact same position, and subtle changes in camera angle can make images harder to compare over time.
This is exactly the challenge ImageAssist was built to solve.
ImageAssist helps clinical teams capture standardized patient photos using guided overlays, ensuring consistent angles and positioning every time. Photos are automatically organized by patient and session, making before-and-after comparisons simple and easy to access during consultations.
Clinical Photography Best Practices Guide
Below is the full guide outlining best practices for capturing consistent patient photos using smartphones and tablets.
Learn More
If your practice is looking for a more streamlined way to capture, organize, and manage patient photos, ImageAssist helps automate these standards and create a structured clinical photography workflow.
Get a free demo and strategy session with our clinical photography experts: